To add P&I claim details for a crew member:
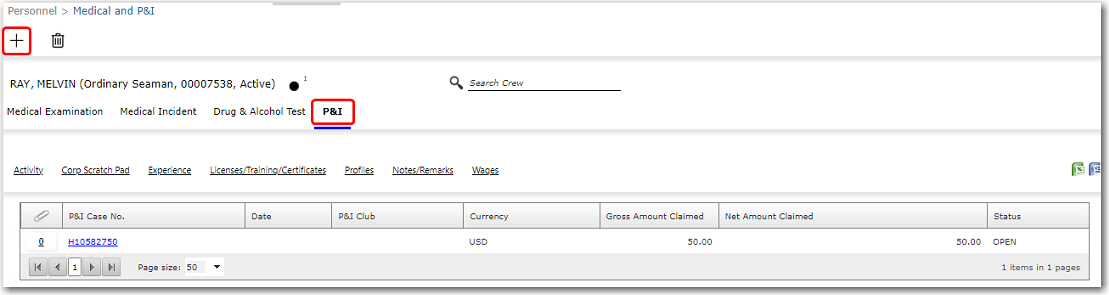
1. From the HR Manager main menu, click Medical and P&I under the Personnel menu.
2. To search for a crew member for whom you want to add a new P&I claim record, enter part of the crew's name or ID in the Search Crew field, then select from the auto suggested results.
Note: Alternatively, click the magnifying glass icon to open the Simple Search pop-up window. You can use the drop-down function to select and load a list from the Personnel List section and click a crew member from the Search Result section to view his profile, or search for specific crew member(s) based on their Name, Gender, Nationality, Pool, Rank, Manning Agent, and Active/Inactive status.

3. On the Medical and P&I screen, go to the P&I tab, and then click the + icon at the top to create a new P&I claim record.
4. Enter the P&I details in the fields provided. Refer to the table below for field-by-field guidance.
|
Field |
Description |
|
P&I Case No. |
Specify a case number for this claim. |
|
P&I Club |
Use the Lookup function to select the P&I Club code for this claim. |
|
Diagnosis |
Enter the diagnosis given by the doctor. |
|
Case No. |
It is important to link the case number to the P&I case as this will ensure that a comprehensive claim is made to the P&I Club. Click the '+' icon to link a case number from a medical incidents record. The case number available for selection is that which has been entered under the Medical Incidents tab where the P&I Case check box has been selected. The medical incident record will need to be approved before the case number can be made available for selection. |
|
Vessel |
Use the Lookup function to select the name of the vessel the crew member was serving on at that time of the case. |
|
Repatriated From |
Use the calendar function to select the date the crew member was repatriated. |
|
Port |
Use the Lookup function to select the port at which the claim was made. |
|
Disability Rate |
Enter the disability rate for the case. |
|
Date |
Use the calendar function to select the date the case was sent. |
|
Final Statement |
Select the option 'Yes' if this P&I claim is final or 'No' if it is not final. |
|
Currency |
The currency in which the claim is to be paid. |
|
Gross Amount Claimed |
Enter the gross amount claimed by the crew member. |
|
Remittance to Account |
Use the Lookup function to select the account in which the claim amout will be remitted. |
|
Deductible |
Enter deductions that are to be made from the claim amount, if any. |
|
Status |
Enter the status of the claim case. |
|
Net Amount Claimed |
Enter the net amount claimed by the crew member. |
|
Substitute |
Enter the Name of the substitute who replaced the crew member and in the Port Joined field, use the Lookup function to select the port that the substitute joined. |
|
Cost Details |
The Cost Details table enables you to enter cost details with regards to the claim. Click the '+' icon and enter the information in the available fields in the table. Select the Claim Code followed by the Date of the medical visit and the Amount of the examination. |
5. Click the paperclip icon to attach any documents to this new P&I claim, if needed.
6. Click the diskette icon to save the details of the claim. Once saved, the information will be displayed in the table under the P&I tab.