To create a new visa record for a crew member:
1. From the HR Manager main menu, click Profiles under the Personnel menu.
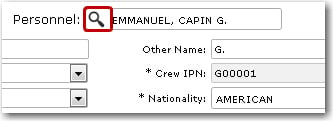
2. Ensure that the crew profile for which you want to create a new visa record has been loaded. Use the Personnel search field to search and select the relevant crew profile.
Note: To use a previously saved list of crew, click the search icon in the Personnel search field to use the Personnel List feature on the Simple Search window. Use the drop-down function to select and load a list from the Personnel List section and click a crew member from the Search Result section to view his profile.
3. After you have loaded the crew profile record, click the Visa sub tab under the Travel Documents tab.
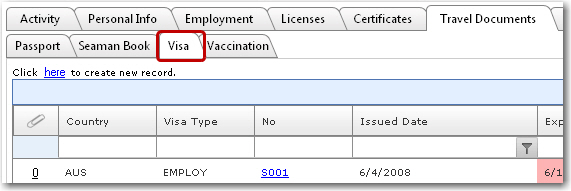
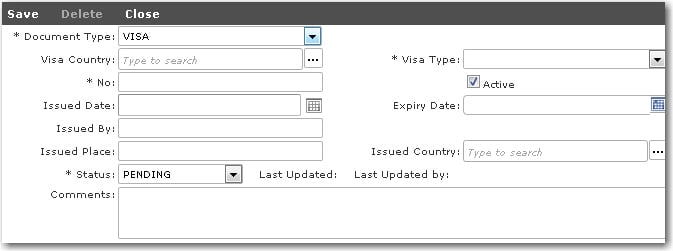
4. Click the 'Click here to create new record' link to create a new visa record. On the Travel Documents - Assign Visa window, enter information in the following fields:
Field |
Description |
Document Type |
Use the drop-down menu to select 'Visa' as the type of travel document you want to log for the crew member. |
Visa Country |
Use the Lookup function to select the country the visa is for. |
Visa Type |
Use the drop-down menu to select the type of visa held by the crew member; for example, 'Employment Visa' or 'Tourist Visa'. |
No |
Enter the crew member's visa number. |
Active |
Select this check box if the visa is to be listed as 'Active' in the System. |
Issued Date |
Use the calendar function to select the date the visa was issued.
Note on the Issued Date field: A back-end database-controlled configuration is available to allow you to set a future date in the Issued date field of a travel document in the Travel Documents tab - (Passport/ Seaman Book/ Visa/ Vaccination sub tabs). Thus, even if the issue date of a travel document is a date in the future, you will be able to start monitoring the status of that required travel document for that travel activity. Please note that this feature is a back-end database-controlled configurable feature. If you would like to explore the option of including this feature, please contact BASS Support. |
Expiry Date |
Select ‘None’ in the Status field to enable the calendar function. Entering a date in this field helps the System to track visa expiry. If a visa has expired, it will be highlighted in red in the table under the Visa sub tab.
If you select ‘Permanent’ in the Status field, it means that the visa has no expiry date.
Note: The Expiration Status column under the Travel Documents - Visa sub tab will display the following statuses based on these Expiry Date conditions:
|
Issued By |
Enter the name of the issuing organization/company. |
Issued Place |
Enter the place the visa was issued. |
Issued Country |
Use the Lookup function to select the country the visa was issued. |
Status |
Select the approval status of the visa record. Users with appropriate access rights will be able to approve the record. |
Comments |
Enter any comments pertaining to the crew member's visa. |
5. Click Save after you have completed your entries. The visa information you have just created will now be listed in the table under the Visa sub tab.